First look at the new Episerver promotions
The long awaited new promotion engine from Episerver has finally arrived, fashionably late but looking smart.
For all of us that have worked with the old one inherited from Mediachase I expect standing ovations as we no longer need to work with expressions and the Expression Editor will become a mere memory.
But I am getting ahead of myself, lets get started with the admin interface.
The new interfaces are named Marketing and can be found under Commerce:
The structure is the same as in the old setup: campaigns are supposed to be a grouping of promotions, aka discounts, with a common target.
The campaign
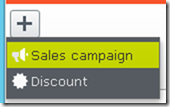
First off we need to create a new Campaign, also known as “Sales campaign”.
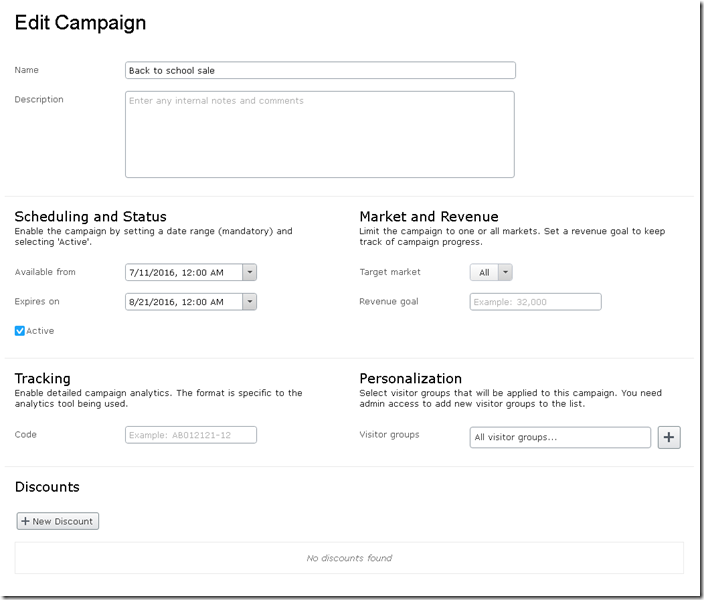
Give it a name and you should have an empty campaign:
Check the active box and enter a start and end date, I feel that the end date could be optional but for now it is mandatory.
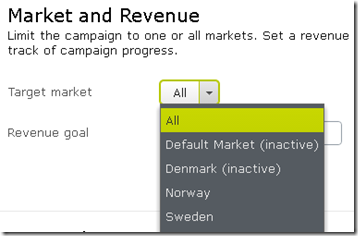
Next we have the support for Markets, yay!
Selecting a specific market works as expected. However if you select “All” here, we enable a feature for all promotions/discounts we add into the campaign that allows us to define different amounts for different currencies. Hopefully that will reduce the need to create separate promotions for each market.
For the optional personalization we can choose to target specific Visitor Groups for all the promotions in the campaign. They are also extendable with custom implementations which will open up for many possible scenarios, the hard part will be deciding on relevant ones.
If you select more than one Visitor Group here it implies a logical ‘OR’, for the fans of set theory it will be a union.
First promotion
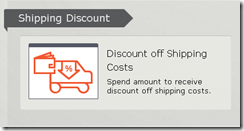
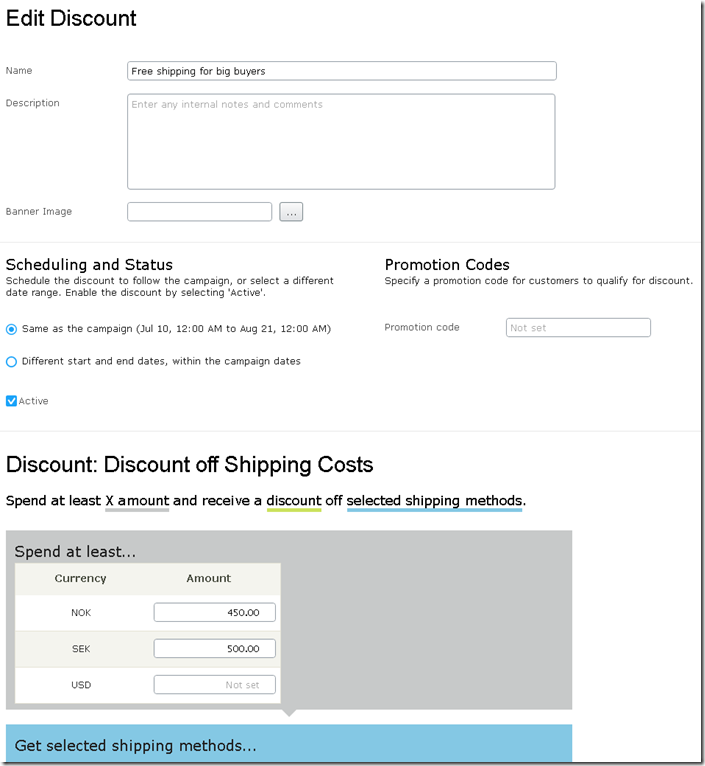
Now that we have a working campaign we can start filling it with promotions. There are several to choose from, 9 right now, divided into the old groups of Entry, Order and Shipping. Starting off easy we create a free shipping discount with “Discount off Shipping Costs”.
Most of the time you will want to keep the dates already set in the campaign but they offer you the opportunity to set them specifically for this promotion, you can select any dates in the date picker but it will only accept dates that are within the date interval of the campaign. Checking active box here too is a given.
You can also set a global promotion code here, if set it is needed to trigger the promotion.
Since I picked all markets for the campaign we now get the option to set a different amount limit for each currency, note that even currencies from inactive markets are present here. you don’t need to set them all but at least one is a must.
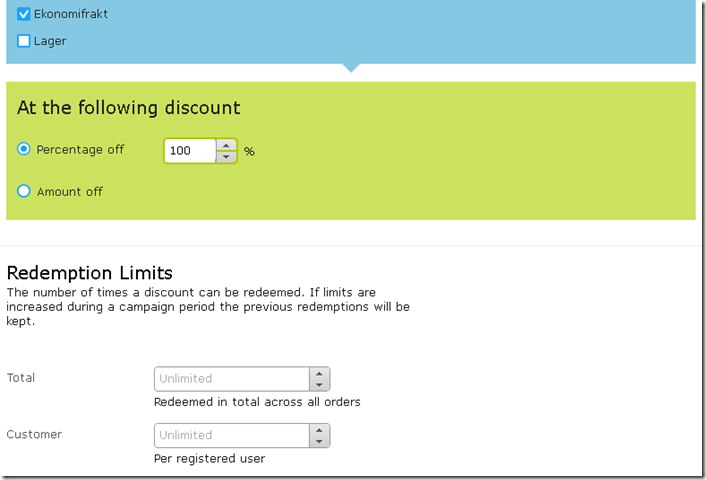
The color coding here is a nice touch to really separate the different settings. Next we get to choose which shipping methods we want to give the discount on and how large the discount should be, if you pick “Amount off” here you also get the same list over currencies. Take care here thou - since we have all markets on the campaign we also get shipping methods from all markets, and they don’t necessarily have unique names over different markets.
At the bottom we get to define the redemption limits as before, as this is a shipping promotion it is built-in an limit of one per order.
As we save and close the promotion we get to my surprise a new view instead of coming back to the campaign.
This is the global list over promotion priorities over all campaigns, we will return to this in a bit but for now just close it and we will return to the campaign.
Second promotion
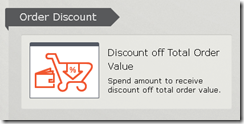
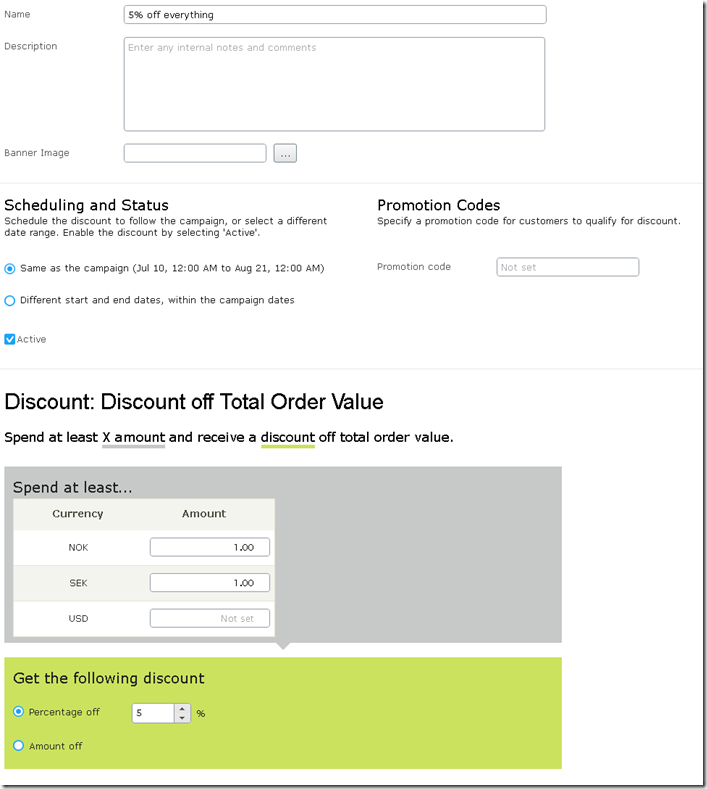
We will quickly create a second promotion for an order discount by using the “Discount off Total Order Value”.
I simply gave 5% off all orders for the sake of reasoning. As we save and close this promotion we come back to the priority list over all promotions.
Priority
Here is a very important pitfall to notice, as the order promotion was added last it is being added at the bottom with the lowest priority. This differ from the promotion priority we are used to from the old system, in which entry promotions were always processed first and then order and last shipping. In the new promotion engine you are free to set priority however you want it. The recommendation is to still maintain a Entry>Order>Shipping priority, but now it is up to you when you create promotions to do so.
If we don’t change it in my example we will give free shipping to orders that doesn’t reach the limit after the 5% discount have been applied, which isn’t the expected behavior so we need to change the order before closing.
To get to the priority list directly you press on the button at the top right of the campaign list page.
That should cover the basics. I hope it will be of some help to you as you upgrade Episerver and start experimenting with all the different promotions included. For a first post this sure has been a long one.





Comments