Installation Instructions for Episerver Relate+ 1.0
| Product version: | Episerver Relate+ 1.0 |
|---|---|
|
Document version: |
1.0 |
|
Document last saved: |
Introduction
The Relate+ package contains EPiServer Community 3.2, EPiServer Mail 4.4, and the Relate+ Templates, for integration with EPiServer CMS 5 R2. The Relate+ Intranet Edition also contains EPiServer Connect for SharePoint 2.0 and the Intranet templates. This document describes how to install Relate+ with its components.
The installation of the Relate+ package is done through the EPiServer Deployment Center which is encapsulated within a standard MSI-package in the download package. The Express Installation option is a "one click installation" scenario - making it quick and easy to install a first version of a Relate+ Web site. EPiServer Mail and EPiServer Connect for SharePoint are installed seperately.
Table of Contents
- Prerequisites for Relate+
- Downloading Relate+
- Express Installation
- Application Files Installation
- Installing EPiServer Mail
- Installing the Intranet Edition templates
- Installing Relate+ on an existing site
Prerequisites for Relate+
Licenses for the EPiServer Relate+ package can be ordered from the EPiServer License Center.
Prior to the installation of Relate+, please check the system requirements for Relate+.
Downloading Relate+
The Relate+ package can be found in the download section of EPiServer World. Included in the downloaded Relate+ zip file are the Microsoft Installer files and the Setup.exe. Running the "Setup.exe" file will start the installation of the various components, the EPiServer Deployment Center and optionally a database and an example Web site.
Perform these steps to download Relate+ installation files
- Download the Relate+ zip file and unzip the contents to your hard drive.
- Run the "Setup.exe" file. When running setup.exe the installer will check if the required software components and versions are installed on the machine. If any of the software components or versions are incorrect then a dialog will appear informing you of the software that is required to be installed or updated.
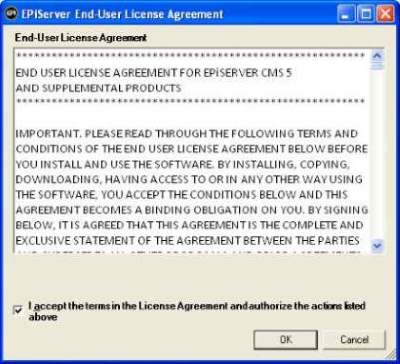
- Accept the terms of the license agreement by clicking in the accept box and then click OK.
- The Relate+ Setup Wizard will appear - click Next in the dialog to continue with the installation.

- Choose the type of installation you want and click Next:
Application Files will install the Relate+ application files. The Relate+ Web site can then be created later through the EPiServer Deployment Center.
Express will in addition to deploying all necessary file also create an example Web site and database using default names.
Each of these options are described in more detail below.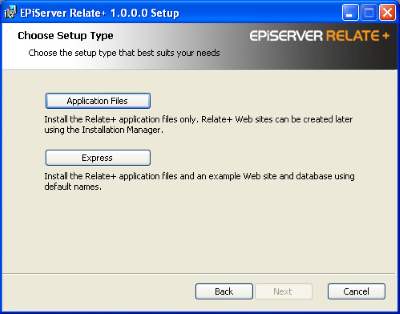
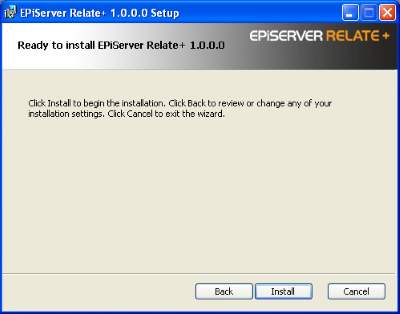
- Click Install to begin the installation.
The next steps depends on which installation type you have chosen of Express installation or Application files installation, the procedure for each option is described in more detail below.
Express Installation
If you have chosen the Express installation option, the installer will complete the installation using default values. You will only be asked to select a license file and to enter a username/password for creating an administration account for the Web site.
Perform these steps to install Relate+ using the Express Installation option
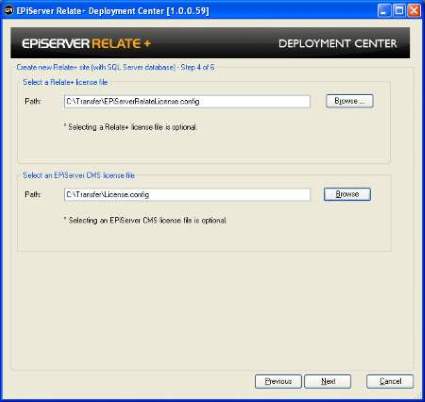
- Provide paths for the license configuration files that you want to use for the site, one for Relate+ and one for EPiServer CMS. This is optional at this point, if omitted the site will be created but will report licensing errors.
Click Next to continue.
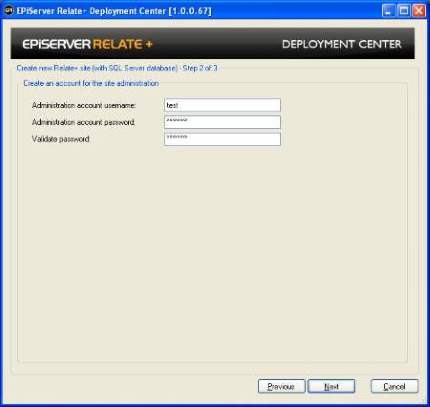
- Create an account for the site administration, provide Administration account username/password. This will be used when logging in to the Relate+ Web site the first time.
Click Next to continue
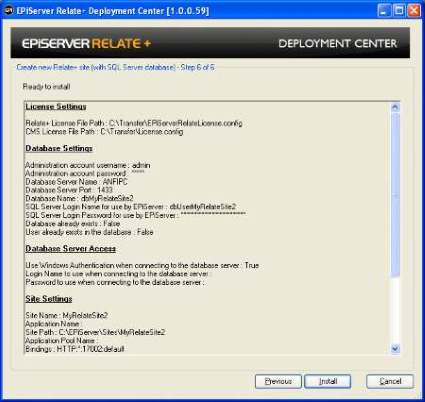
- A summary of all the steps that will be taken by the wizard when it completes will be displayed. Click Install to continue
- When the installation is finalized, the new Relate+ site will be opened, and you can login using the administration account created earlier.
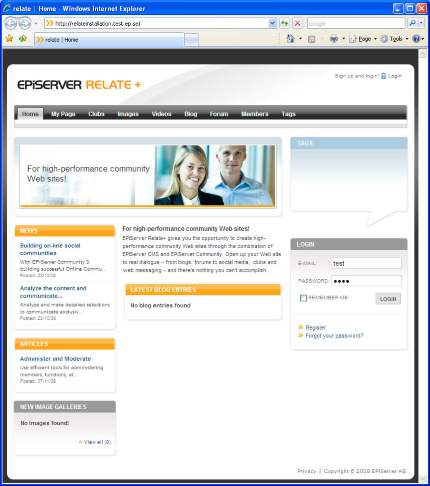
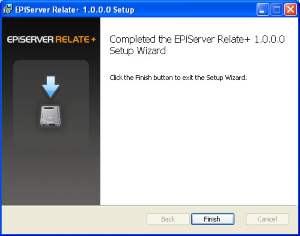
- If the site is not opened in a Web browser, click Finish to finalize the installation. Use the IIS Manager to manually start the site if required.
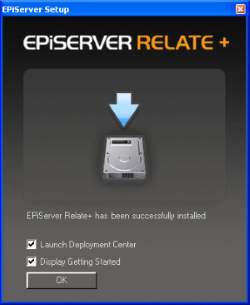
- When the installation is completed you can choose to launch the EPiServer Deployment Center and to display the "Getting started" information. Click OK to continue.
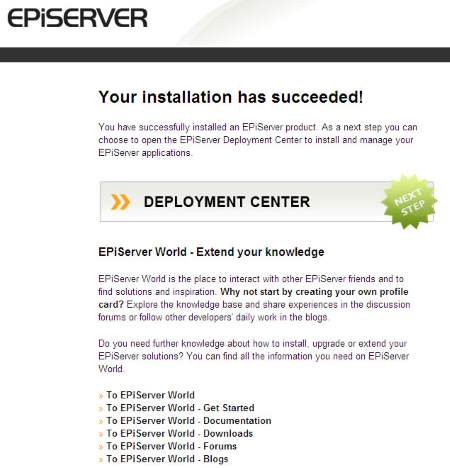
- From the "Getting Started" information you can access the EPiServer Deployment Center, which will give you various options to continue working with your Relate+ Web site.
Application Files Installation
If you have chosen the Application Files installation option, you can finalize the installation from the EPiServer Deployment Center. You will have the possibility to customize the installation according to your needs.
Perform these steps to install Relate+ using the Application Files Installation option
- Open the EPiServer Deployment Center from the program menu. To install a Relate + example Web site, choose the option Install Relate+ Site under EPiServer Relate+/Version 1.0.0.0, and click Run to start the installation.

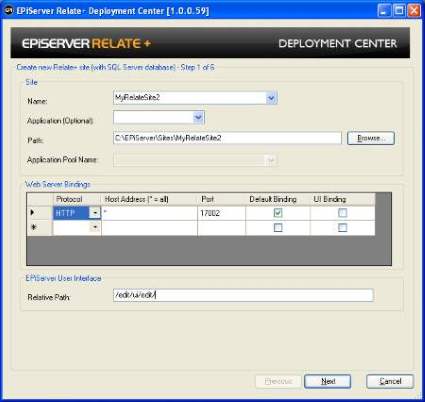
- In the next step you will have the possibility to provide configuration for your web server, or you can select the predefined values:
- Enter a name for the site to be installed in the site Name field
- Enter Application (optional)
- Enter Path for the sIte
- Enter Application Pool Name (optional, not supported by IIS on Windows XP)
- Enter Web Server Bindings
- Enter EPiServer User Interface Relative Path
Click Next to continue.
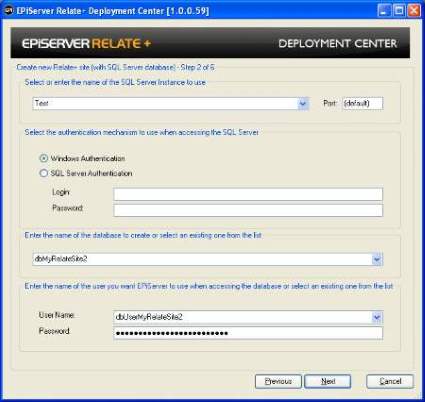
- This step will gather information about how to connect to the database server and information about the Relate+ database about to be created:
- Select or Enter the name of the SQL Server Instance to use and the Port number
(default) in the Port field defines the database server's default port. If you wish to install to another database server port, change the value to the desired port number.
- Select the authentication mechanism to use when accessing the SQL Server, this is the account that will be used for creating the database.
- Enter the name of the database to create or select an existing one from the list
- Enter the name of the user you want EPiServer to use when accessing the database or select an existing one from the list
Owner rights to the database (passwords must include lower and upper case, a digit and a non-alphanumeric character). In the Password field, type the password associated with the specified user.
Click Next to continue.
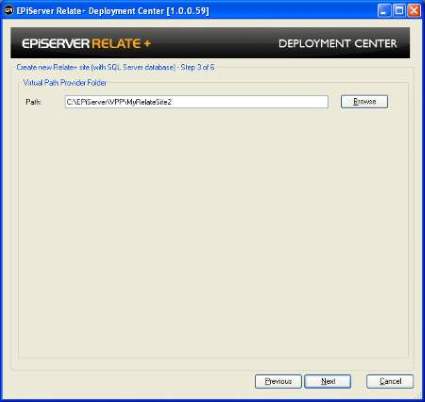
- In the Path field, select or create the folder where Virtual Path Provider files will be stored for the site. Each VPP will create a child folder under the folder selected in the wizard.
Click Next to continue.
- Provide paths for the license configuration files that you want to use for the site, one for Relate+ and one for EPiServer CMS. This is optional at this point, if omitted the site will be created but will report licensing errors.
Click Next to continue.
- Create an account for the site administration, provide Administration account username/password. This will be used when logging in to the Relate+ Web site the first time.
Click Next to continue.
- A summary of all the steps that will be taken by the wizard when it completes will be displayed. Click Install to continue.
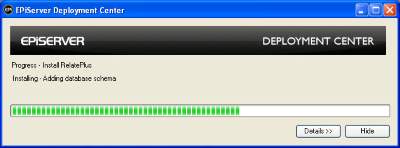
- The Relate+ site will be created.
- When the installation is finalized, the new Relate+ site will be opened, and you can login using the administration account created earlier. If the site is not opened in a Web browser, click Finish to finalize the installation. Use the IIS Manager to manually start the site if required. Opening the EPiServer Deployment Center from the programs menu will give you various options to continue working with your Relate+ Web site.
Installing EPiServer Mail
EPiServer Mail is installed separately. Please refer to the installation instructions for EPiServer Mail 4.4.0.
Installing the Intranet Edition Templates
The Relate+ package comes with an intranet edition containing styles and images. The Intranet Edition files are downloaded as a zip file for installation.
Perform these steps to install the Relate+ Intranet Edition templates (styles)
- Download the Intranet Edition zip file and unzip the contents to your hard drive.
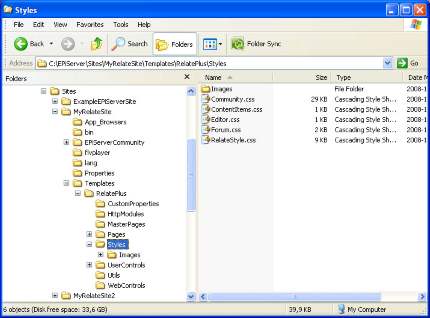
- Replace the Styles folder on your Relate+ Web site, with the Styles folder in the Intranet Edition files. The Styles folder is located under C:\EPiServer\Sites\MyRelateSite\Templates\RelatePlus\Styles
Installing Relate+ on an Existing Site
- On your EPiServer CMS site, start by installing EPiServer Community, using the EPiServer Deployment Center.
- Continue by installing EPiServer Mail through the EPiServer Deployment Center.
- Go to %your path to%/Program files/EPiServer/RelatePlus/1.0.0.2/Install/Configuration and add the updates that you can find in the files (IIS6 or IIS7) to your web.config.
- If you want the Relate+ templates they can be found in an import package in /Program files/EPiServer/RelatePlus/1.0.0.2/Install/.
- Go to the site Admin mode and import the package from there.