Installation Instructions - SiteAttention SEO
|
Product version: |
EPiServer CMS 6 R2 |
|---|---|
|
Document last saved: |
This document describes how to install the SiteAttention add-on on your machine and how to set up the website. This document covers both the download, installation instructions and configuration settings.
Table of Contents
- About SiteAttention for EPiServer
- Prerequisites
- Downloading and Running the Installation Package
- Activating SiteAttention in Admin Mode
Using SiteAttention
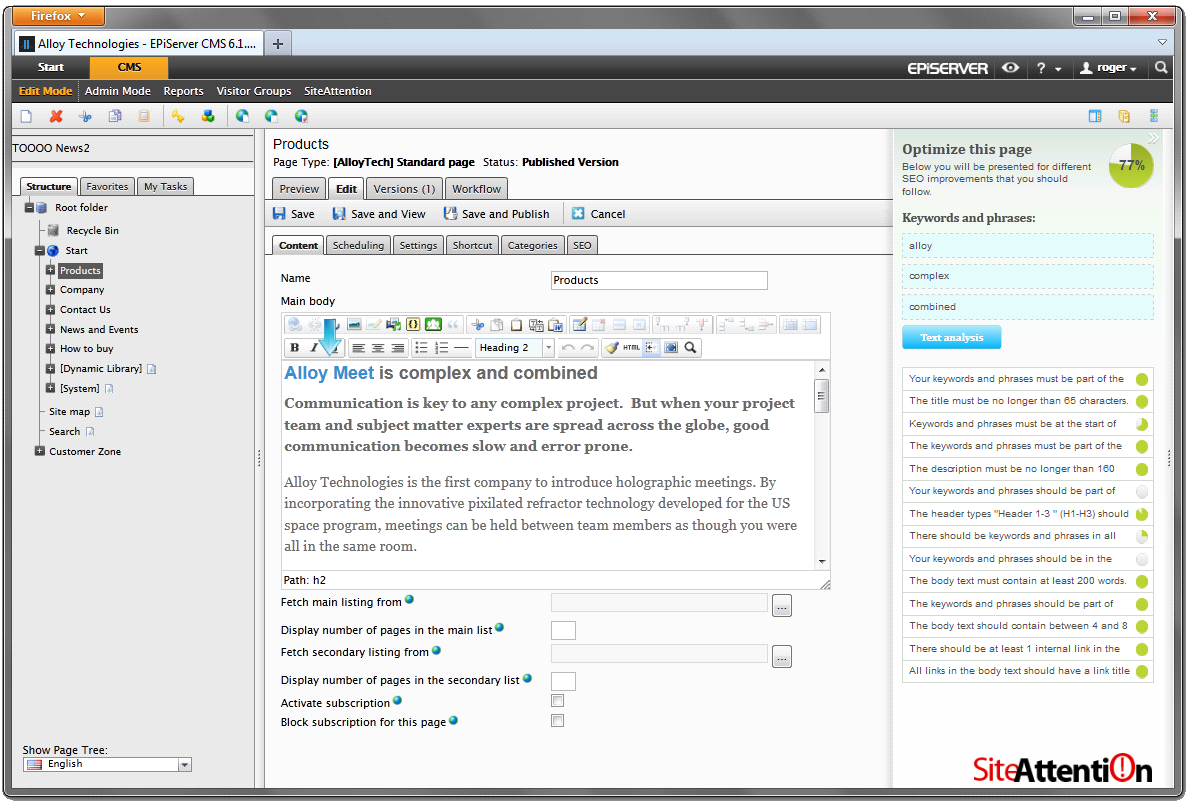
For information about how to use SiteAttention, go to CMS > SiteAttention > Edit Mode.
SiteAttention is also available through Quick-edit and On-Page Edit in View mode. In the latter, not all properties are managed because not all properties of the page will be shown in OPE-mode.
Choosing User Interface Language
Most of the user interfaces show the language you have chosen as Display Language in EPiServer CMS. SiteAttention supports English, Swedish and Danish. The fallback language for all other languages is English.
Prerequisites
The following prerequisite exists for EPiServer SiteAttention:
- A website with EPiServer CMS 6 R2 with valid license installed.
- You can download SiteAttention in a free version, but to upgrade to the premium version you need to submit your contact details throught the order form at SiteAttention.com.
- All documentation is published at SiteAttention.com.
Downloading and Running the Installation Package
Download and run the installation package for SiteAttention as follows:
- Download SiteAttention installation package from EPiServer World to the web server.
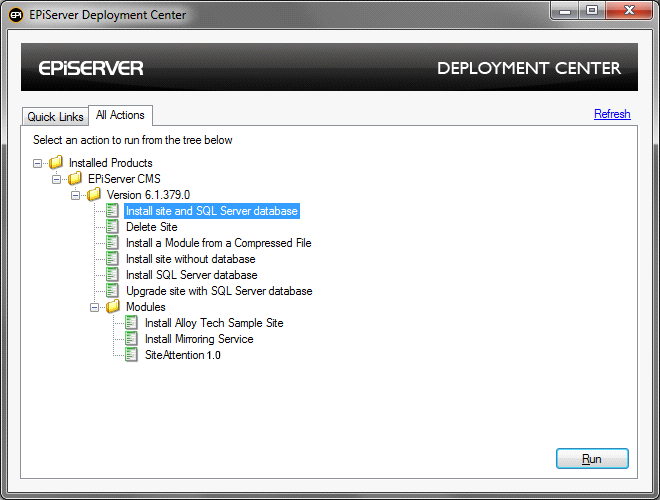
- Open EPiServer Deployment Center (Start > Programs > EPiServer > Quick Links).
- Select Install Module from a Compressed File, select the installation package you have downloaded and click Run.
- Start the installation and follow the installation wizard.
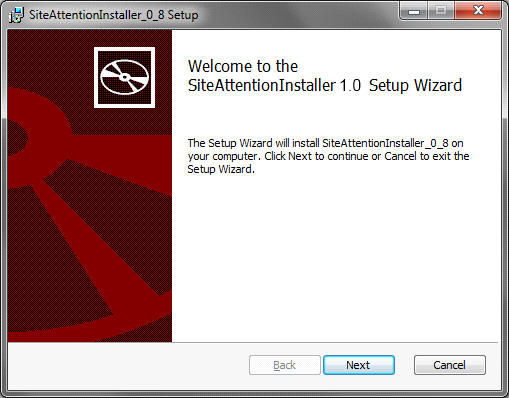
The add-on is now installed on the web server, ready for deployment. - Install the add-on into your website using the EPiServer Deployment Center. Choose SiteAttention 1.0.1 and select Run.
- Follow the instructions in the wizard, select Typical installation and which site to install it on.
The add-on is now installed in your website.
Activating SiteAttention in Admin Mode
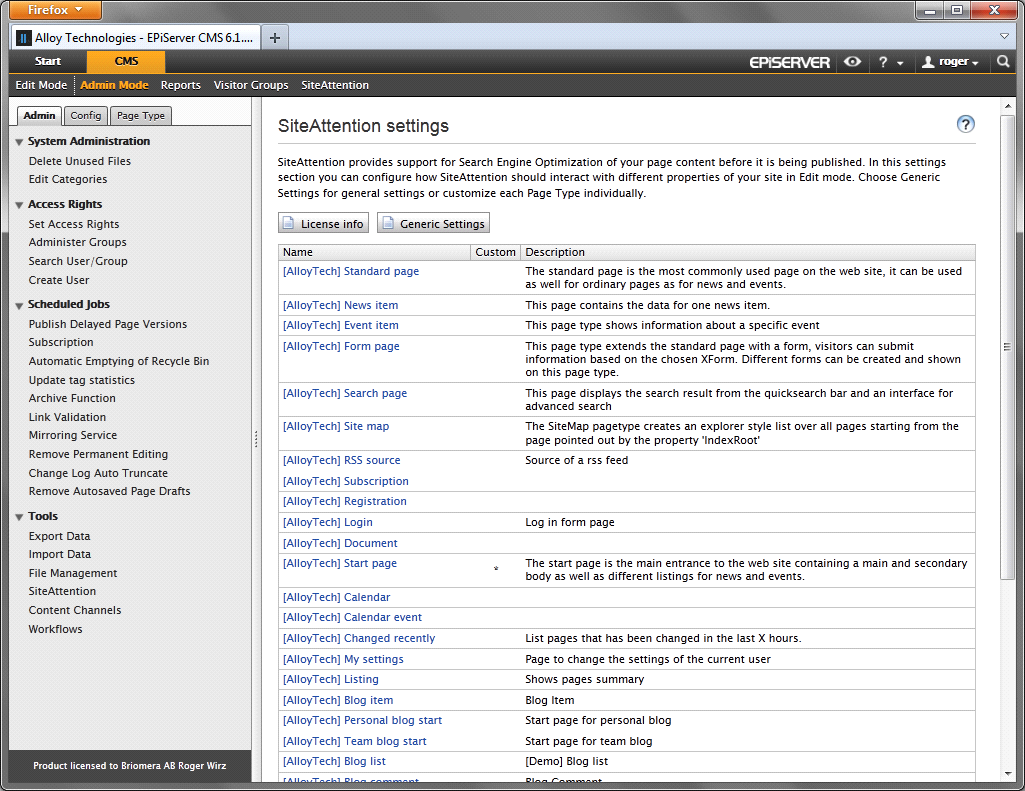
You can set up your system to work with SiteAttention by selecting CMS > Admin Mode > Tools > SiteAttention.
A typical view of the SiteAttention administration can look as shown in the following example:
Activating SiteAttention through the License Key
To start using SiteAttention you need to enter a valid license key. Activate SiteAttention as follows:
- Select License Info from the main screen and you will see a view similar to the one below.
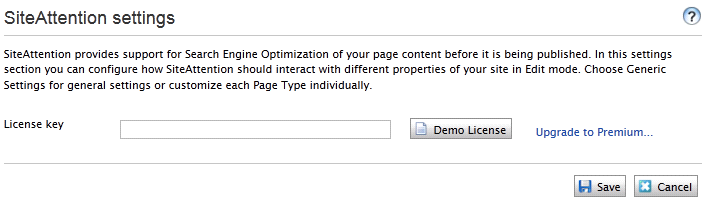
- Select Demo License to get a demo license or enter a valid Premium license key.
- Click Save and the add-on is activated.
Note By selecting Upgrade to Premium you get more information on how to order a full license.
Adjusting SiteAttention’s Generic Settings
To work correctly, you need to make settings to tell SiteAttention what each property is used for. Typical information that is important for a search engine is for example the general page content, the page title, the page description but also information such as the content of the headings of the page (h1, h2 and h3).
Generic settings are applied to all page types that have not been marked Custom Settings. It is possible to map a number of properties to indicate important page information. Enter a single property name or enter a list of comma separated property names for each property type.
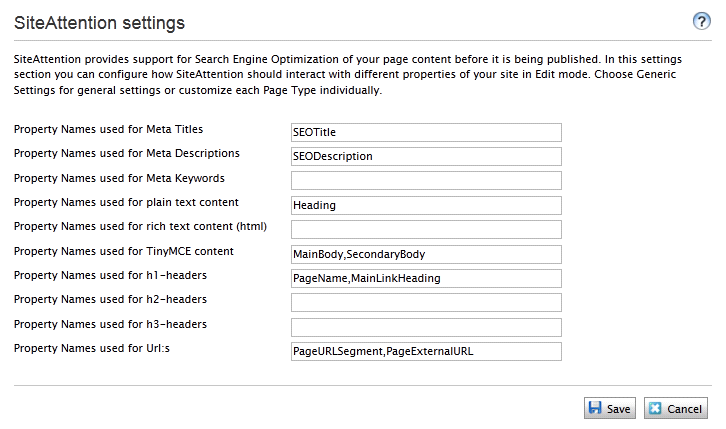
In the example above all page types with a property called SEOTitle will be expected to store the Title of the page. When giving recommendations, SiteAttention will base this on the content in the actual property on the page.
Another example is that all properties named MainBody or SecondaryBody will be expected to contain page content. And in this case the content is displayed using the TinyMCE editor. Note that the two properties are separated with a comma.
Most of the types in the Generic Settings are obvious, but the following need more explanation:
- Plain content is pure text without any HTML.
- Rich content is content with HTML-tags, edited through a traditional textbox (not an editor).
- TinyMCE content is content with HTML-tags, edited through the TinyMCE editor.
When you are done setting up the mapping, select Save to store the new settings.
Setting Up Custom Settings for a Page Type
In some cases you might need to do individual settings for a page type. To do this, start by selecting a page type on the main window and a view similar to the following example appears:
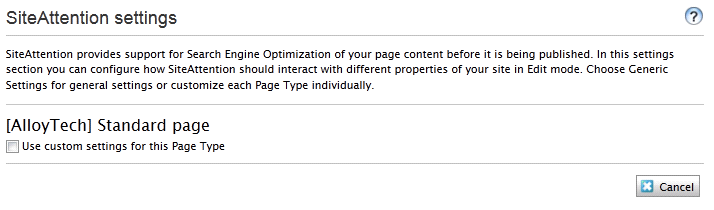
Select Use custom settings for this Page Type and the following expanded view will appear:
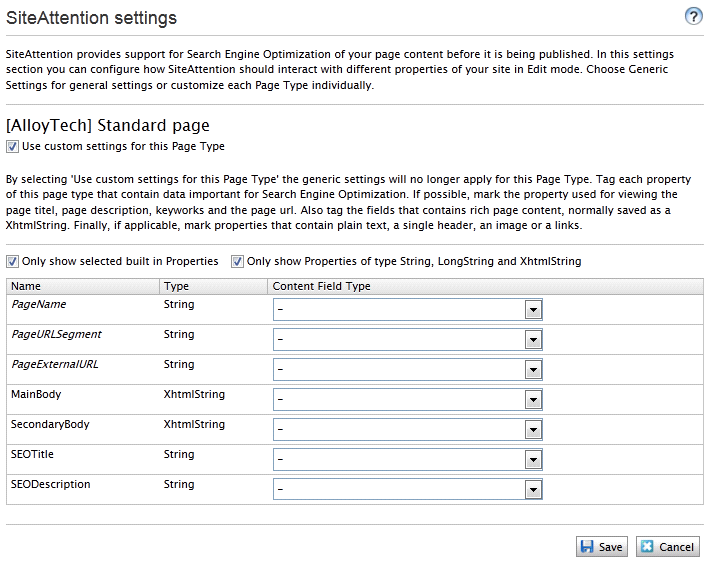
Note By selecting Custom Settings, this page type will be excluded from the settings in the Generic settings so all mapping have to be set for this page type.
By clearing Only show selected built-in properties you will see all built-in properties, which in most cases are not useful for SEO.
It is also possible to show properties of other types than String, LongString and XhtmlString, but in most cases other types than these three are not useful to map.
To do a custom mapping you select which property you want to map and then what kind of content it will have in it by selecting it from the drop-down list as follows:
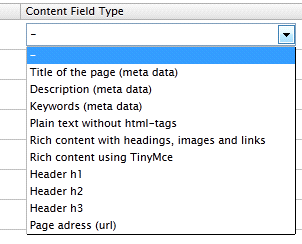
The alternatives are the same alternatives as in the generic settings so look there for more information about each option.
A typical view can look as shown in the following example when you are done:
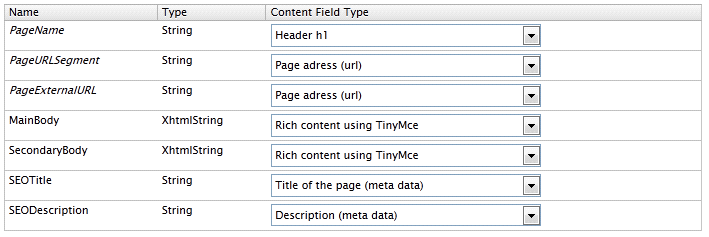
Remember to click Save to store the new mappings.
Note An asterix in the list of page types shows you that your page has custom settings.
See Also
For more information about SiteAttention, please refer to the article Launch of the SiteAttention Add-on.