Configuring Active Directory membership provider
Introduction
This document describes how to use Active Directory for authorization and authentication together with EPiServer CMS. .NET Framework has an Active Directory membership provider which is used together with the EPiServer CMS Active Directory role provider.
Prerequisites
- A Windows ActiveDirectory domain
- A web server running EPiServer CMS
- Port 389 and 445 on the AD server must be open in the firewall
- The username must be entered as xxx@domain, not just xxx
The web server with EPiServer CMS does not have to be a member of the Active Directory domain. It will simply use a configured service account to communicate with the Active Directory domain controller.
Configuration
Active Directory membership provider
To configure your site, add the following in the <membership><providers> section of web.config:
<add name="ActiveDirectoryMembershipProvider"
     type="System.Web.Security.ActiveDirectoryMembershipProvider, System.Web, Version=4.0.0.0, Culture=neutral, PublicKeyToken=b03f5f7f11d50a3a"
     connectionStringName="ActiveDirectoryProviderConnection"
     connectionUsername="DOMAIN\ADServiceAccount"
     connectionPassword="password"
     enableSearchMethods="true"
     attributeMapUsername="sAMAccountName" />
Modify the connectionUsername and connectionPassword and insert values for a user account with appropriate privileges. See the documentation for the class ActiveDirectoryMembershipProvider for details on security issues.
Basically any authenticated user account will have the necessary permissions (the Authenticated Users group in its default configuration will give the appropriate permissions). If your Active Directory has been reconfigured and has had the default permissions changed, you must make sure that the account has the following permissions to all groups and users that are part of the subtree that the connection string refers to:
| Object permission | Read all properties |
| Object permission | List contents |
| Properties permission | Read all properties |
| Properties permission | Read group name (pre-Windows 2000) |
| Properties permission | Read groupAttributes |
| Properties permission | Read memberOf |
| Properties permission | Read members |
You should also add a connection string to the <connectionStrings> section that defines how the membership provider will connect to the ActiveDirectory.
An example:
<add name="ActiveDirectoryProviderConnection"
     connectionString="LDAP://domain.mycompany.local" />
See the documentation for the class ActiveDirectoryMembershipProvider for details on the connection string and configuration parameters.
If you create a new user in an Active Directory domain, you will actually have two different user names:
If you need to troubleshoot the LDAP connection with a network monitor you might want to enable unsecure communication with the Active Directory server to see the communication in clear text. Enable unsecure communication by adding the attribute connectionProtection="None".
Active Directory role provider
To configure your site, add the following to the <roleManager><providers> section of web.config:
<add name="ActiveDirectoryRoleProvider"
    type="EPiServer.Security.ActiveDirectoryRoleProvider, EPiServer"
    connectionStringName="ActiveDirectoryProviderConnection"
    connectionUsername="DOMAIN\ADServiceAccount"
    connectionPassword="password"
attributeMapUsername="sAMAccountName" />Modify the DOMAIN\ADServiceAccount and password and insert values for a user account with appropriate privileges.
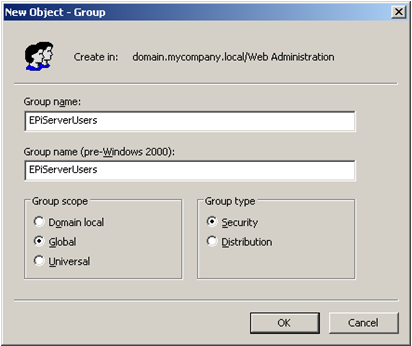
The role names used by default are the Windows domain compatible names (shown below as pre-Windows 2000 group name). You can use the attribute attributeMapUsername to choose another attribute for role name if you want to. Some possibilities are "cn" (which will be the Group name as shown below) or "distinguishedName" (which will be the fully qualified name such as CN=EPiServerUsers,DC=domain,DC=mycompany,DC=local). The default value is "sAMAccountName".
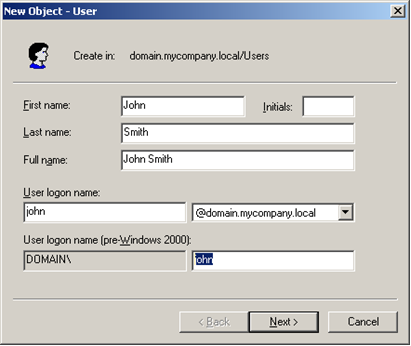
To be compatible with the Active Directory membership provider, the default user name mapping is the user principal name, in other words user names in the form "user@mycomapny.domain.local". To change it into the standard Windows user name, add the attribute attributeMapUsername="sAMAccountName".
For troubleshooting purposes we support the connectionProtection attribute. Set connectionProtection="None" for clear-text authentication and communication.
The Active Directory data is aggressively cached by the role provider. You can control the cache expiration with the attribute cacheTimeout. For example setting cacheTimeout="1:30:0" sets the timeout to 1 hour 30 minutes. The default is 10 minutes.
See also
Last updated: Feb 23, 2015