
Lessons Learned with my first Personalized Content Recommendations Implementation
As most of you know by now, in November 2019, Episerver acquired Idio, a content personalization and analytics platform that can provide a 1:1 content recommendations based on a user’s interests and journey through your site. This means that Episerver now offers an even more spectacular content recommendation platform, that puts the best individually tailored content in front of your users.
For more information about the acquisition please visit Episerver’s news release: https://www.episerver.com/company/press-room/episerver-signs-definitive-agreement-to-acquire-11-personalization-company-idio/
Getting started
First, talk with your account manager. They will get the ball rolling and get you set up with an on-boarding team, who will facilitate the provisioning of the content recommendations environment, provide you with the API keys that you will need, as well as a login to the Content Recommendations dashboard, and ultimately helping to you understand the entire process.
Collecting metadata or What should you track?
The Content Recommendations engine does a lot of great things behind the scenes. It uses Natural Language Processing (NLP) to understand the meaning and to determine the topics of your content. It also looks at the metadata set on the content, such as the OpenGraph (og) properties that Facebook uses. If those properties are on the page, they will be picked up automatically.
In addition, you can set other data values that you want to be tracked by including additional metadata tags in the header of your content. For example the client I was working with wanted to track the page type and categories for all of their content.
Once this data is tracked, it can be used in a variety of ways, such as setting up your Flows in order to filter the content that would be available in the recommendations group. The data will also be included in the response returned to the recommendations block, so it can be used for the rendering in the Mustache template (more on that later)
IMPORTANT: If you are looking to have an image displayed in the recommendations, then one needs to be set into the meta tags, such as the og:image tag. The indexing process will NOT pick an image from the content automatically. Only from the meta tags.
Pro tip: A little bit of planning at this point in the process will save a lot of time later. Look at the end-result designs you want to use for the recommendations. What information do you want to display? Where that information is coming from? It's easier to add these metatags before you start tracking, rather than after.
The Tracking Script
The tracking script is one of the key parts to this whole thing. It’s a JavaScript tag that goes on every page, making an API call back to the indexing engine to the index the piece content and to track the visitor activity for that URL.
There are two ways to add the tracking script, the first is by using a tag management solution, such as Google Tag Manager, or by using the tracking script that is included with the EPiServer.Personalization.Content.UI NuGet package.
Adding via Tag Management System:
https://world.episerver.com/documentation/developer-guides/personalization/content-recommendations/installing-content-recommendations/
Installing the EPiServer.Personalization.Content.UI NuGet package:
https://world.episerver.com/documentation/developer-guides/CMS/personalization/installing-and-configuring-content-recommendations-integration-package/
IMPORTANT: If you use a tag management system, set the episerver:personalization.content.DisableDefaultTracking key equal to "true" in your appSettings.
If you are using the script rendered from the NuGet package then the domain IP address that you are tracking, will need to be whitelisted.
IMPORTANT: While both methods are valid, it’s important to only use one or the other. Using both at the same time could result in duplicate tracking, or other issues, and skew the tracking results.
Once you have the tracking script installed and deployed to production, the content will start to be tracked and indexed. The tracking process is very organic in nature, meaning that the content is indexed and tracked as it is accessed by the users. You will almost immediately start to see what content is the most used, which in itself, is very valuable information.
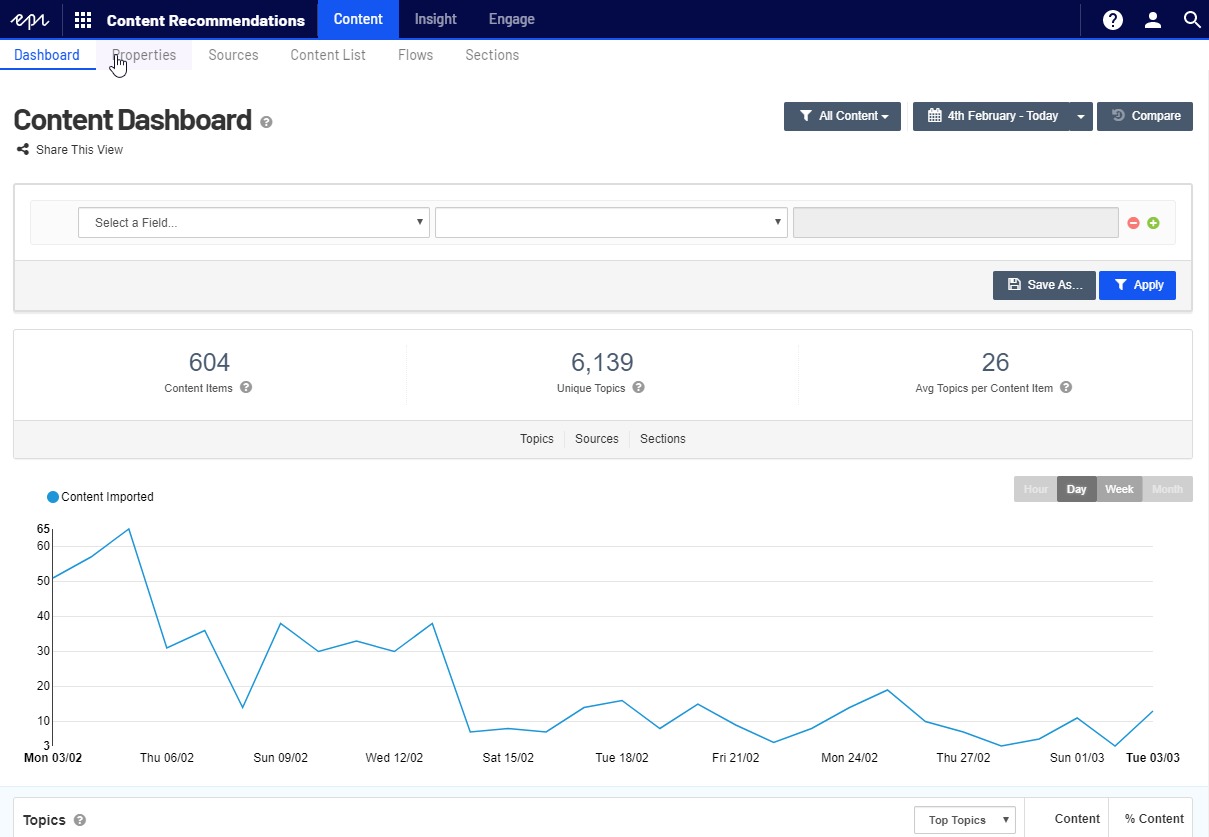
The Dashboard
The Content Recommendations dashboard provides you with a lot of information about your content, how well it is performing, and what people are really looking at.
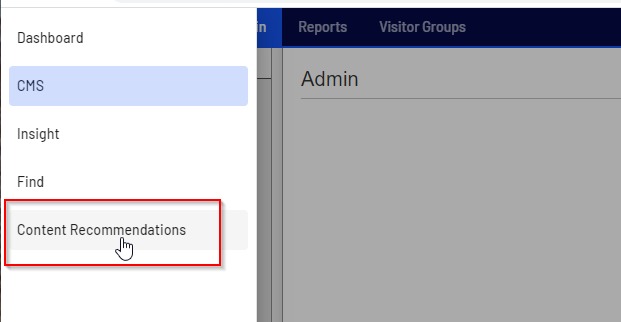
When you install the EPiServer.Personalization.Content.UI NuGet package you will get Content Recommendations connector installed to view the dashboard from the CMS Admin UI.
Note: at this point, there is not a trusted sign-on from the Episerver Admin UI to the Content Recommendations dashboard, but that is coming.
Going with the Flow
Once your content has been indexed and tracked, the next step is to set up some sections and flows to help organize the recommendations. A flow is a set of rules that you can define to match content into logical groups to provide better focused recommendations.
The Content Recommendations dashboard provides an easy way to set up and refine the flows and sections over time.
Setting up sections and flows
https://world.episerver.com/documentation/developer-guides/personalization/content-recommendations/setting-up-sections-and-flows/
Show me the Recommendations!
With your flows set up, it’s time to focus on the delivery. This is where the electronic rubber meets the digital road. Remember, the recommendations are personalized for the user, based on their journey through your site, with the items pulled from the available indexed content groups you have defined in your flows.
First thing to do is to create some delivery widgets. These components will feed into the recommendations block, to return the personalized recommendations for the user. World.episerver.com already has some great documentation on setting up the sections, flows, and delivery widgets.
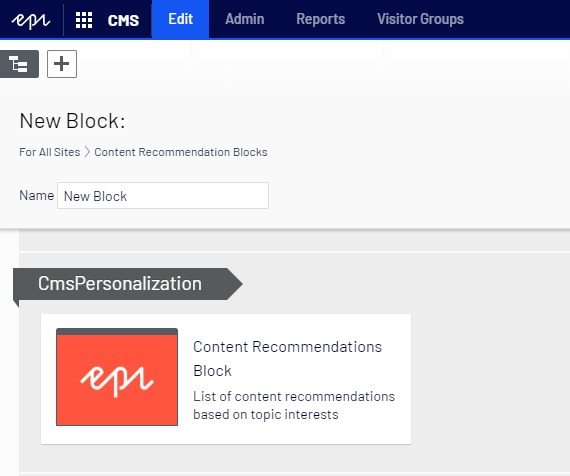
If you haven’t already, you will need to install the EPiServer.Personalization.Content.UI NuGet package. In addition to installing the Content Recommendations connector, and adding the tracking scripts to your pages, it also adds a new block type model and view for rendering the recommendations.
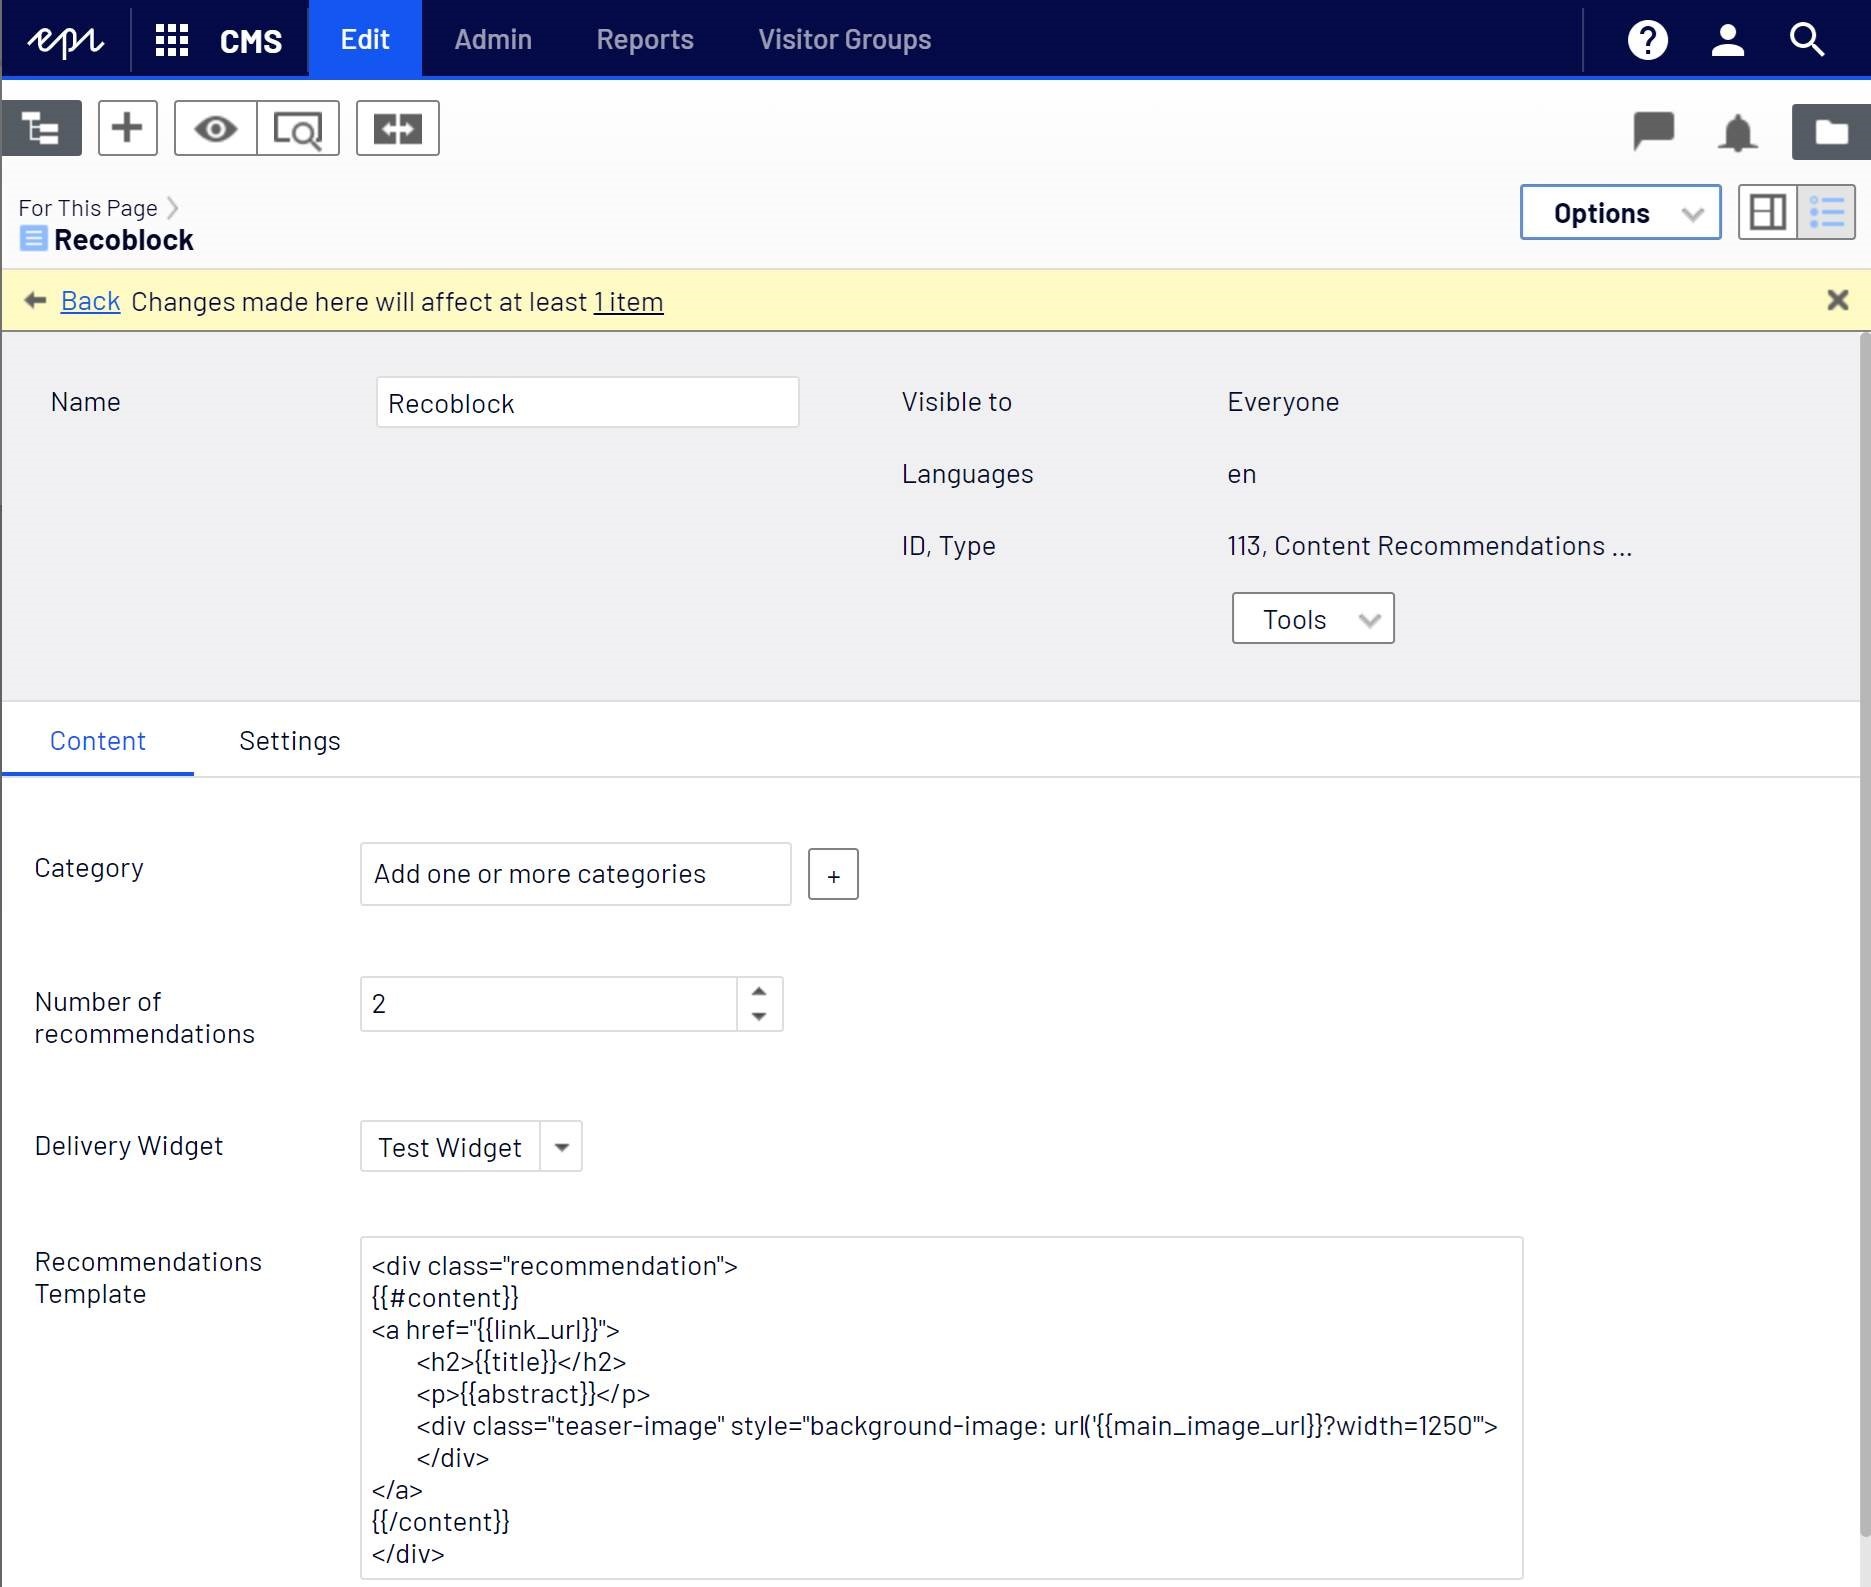
The Content Recommendations block has three new properties:
- Number of recommendations – how many items to show at a time. You can have as many as you need, just make sure that the design can handle them.
- Delivery widget – this is where you select what recommendations group (flow) will be used for this instance of the recommendations. You should see a list of all the delivery widgets that have been set up in the dashboard.
- Recommendation template – this is a Mustache template that defines the repeating pattern for the markup.
Recommendations Template
The Recommendations Template field is the workhorse of the rendering. Everything inside the {{#content}} {{/content}} mustache markup will be repeated for each recommendation item, and additional markup can also be included. Keep in mind that the recommendation template is rendered in the front-end and has no access to the back-end CMS APIs, or content object data. It only knows the JSON that is being returned from the recommendation server.
You can use the custom metadata that you set up for tracking earlier in the template. For the client I worked with, they needed to display specific category and description content, so we set it up to track in custom tags, and then rendered those values in the template.
To use the custom metadata, use the mustache syntax to traverse the JSON nested property values.
For example:
{{#metadata}}
    {{#tags}}
       {{#og}}
          {{description}}
       {{/og}}
    {{/tags}}
{{/metadata}}

One nice thing is that if you put your markup inside of the nested structure, if nothing is passed, then the markup will not be rendered. In the following example, if no description is passed in the response, then the p tags will not be rendered either.
{{#metadata}}
    {{#tags}}
       {{#og}}
          <p>{{description}}</p>
       {{/og}}
    {/tags}}
{{/metadata}}
I’ve got the block, now what?
The great thing about a block approach, and the way this one is set up is that you can use the same delivery widget with different blocks to easily change the recommendations template markup, but return the same recommendations for different uses across your site.
Since it’s a block, you can drop it right into the middle of a XHtml block or add a content reference or content area property to your page models and render using Html.PropertyFor in your view. And if your users have JavaScript turned off, or for some reason no data is returned to from the recommendations engine, then the block doesn’t break. It just doesn’t show on the page.
As far as using a content reference or a content block, that is up to you and your needs. But I have four words for you: Personalization and Visitor Groups
Using Visitor Groups for Personalization
The 1:1 personalized recommendations sounds great, but what if you want to change the recommendations based on a visitor group? The recommendations engine doesn’t know anything about your visitor groups, but there is a way.
Let’s take a scenario where you want a certain group of recommendations to be used if the visitor falls into a specific visitor group, and a more generic recommendations group if they do not. You would set up two flows and delivery widgets, one with the generic, and one with more targeted rules.
In CMS, create two recommendations blocks, one pointing to the targeted delivery widget, and one to the generic widget. Then in a content area, add the two recommendation blocks, and add the personalization visitor groups as you normally would. If the visitor falls into the group, they will get the targeted recommendations.
Wrapping things up
The new Content Recommendations functionality is a great addition to any Episerver website. It will help you understand what content people are looking at, while helping get the right content in front of your users. And while there are several steps in the process, along with a few bumps in the road as I learned what I think is the proper order to do things, it still seemed to go smoothly, without a lot of complications.
The thing that probably takes the longest out of the whole process is getting the content indexed, since it is an organic process of indexing the content as it is being accessed by your users. But the biggest lesson I learned was that a little bit of planning to determine the data you want to have tracked at the beginning will save you a lot of time later.
There is some great documentation already set up on world.episerver.com (https://world.episerver.com/documentation/developer-guides/personalization/content-recommendations/), and this will continue to be refined and updated over time.
Update: The documentation for adding the Tracking script to your site have moved. Here are the updated links:
Adding via Tag Management System:
https://world.episerver.com/documentation/developer-guides/personalization/content-recommendations/tracking-your-site/installing-tracking-via-tag-manager/
Installing the EPiServer.Personalization.Content.UI NuGet package:
https://world.episerver.com/documentation/developer-guides/commerce/personalization/recommendations/installing-and-configuring-the-native-integration-package/z