Breaking changes - Episerver Languages 3
Breaking changes
- Public interface IMachineTranslatorManager
Change the signature of the method GetProvider to:
IMachineTranslatorProvider GetProvider(string providerTypeName, string consumerKey, string consumerSecret, out bool isInitSuccessfully);
The default implementation for IMachineTranslatorManager is MachineTranslatorManager, also change this to adapt new method signature.
- IMachineTranslatorProvider
A new property, DisplayName, is introduced. It defines the provider name.
Change the Initialize method signature to:
bool Initialize(string consumerKey, string consumerSecret)
Change the BingTranslatorProvider class, which implements that interface, to adapt the changes of the interface.
- New INotificationProvider interface
A new interface, INotificationProvider, is introduced for notifying the user when a complete import of translation files to the system was done. Default implement of the interface is UserNotificationProvider.
- The LanguageManagerSection class
The MachineTranslatorProviders property was removed because it was moved to be stored in DDS. Therefore, the machinetranslatorproviders config element in EPiServer.LanguageManager.config also was removed.
- ITranslationPackageExporter and ITranslationPackageImporter
ITranslationPackageExporter and ITranslationPackageImporter are interfaces used for import and export of translation packages to a project. The default implementations are XLIFFTranslationPackageImporter and XLIFFTranslationPackageExporter.
Features/UI changes
- The Manage Add-On Settings menu options was moved to admin view.
- You can add a content item (such as a page or block) to a translation project by drag and drop and via its context menu.
- After adding content to a project and publishing the translation project via the Publish menu, a zip file containing all XLIFF format content is downloaded. Then, you can send the package for translation. When you complete the translations for a project, upload the file (in zip format) to the server to import contents back. The action also is executed via the Publish menu of the Project view. After you upload the packages to the server, they are imported automatically by a scheduled job. If you want to manually start that process, go to admin view > Import Translation Package, and then start it manually.
- A notification to the user appears in the user interface after importing a translation package.
- The translation folder now is located under module root to store uploaded translation packages.
- The translation process affects only draft versions.
Export translation project
After you create a translation project, you can add content to it from the Languages context menu:
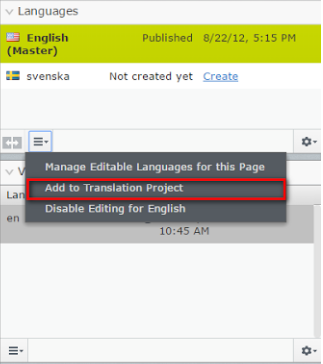
An Add to translation dialog box appears with options to add content to your translation project.
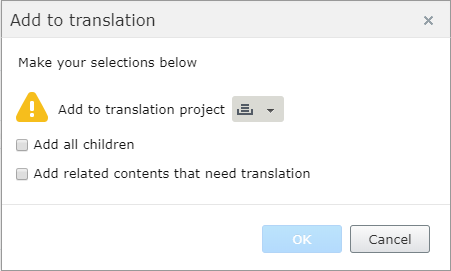
- Add all children: Get all references to the descendent of the content and add to project.
- Add related contents that need translation: Add all related content that needs to be translated to the project.
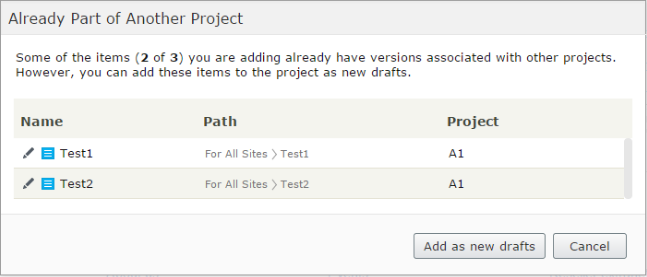
- You can combine these two options. If items included in the translation project are already part of another project, you are notified of this.
After you finish adding content to your translation project, go to the project view and download the translation package via the Publish menu:
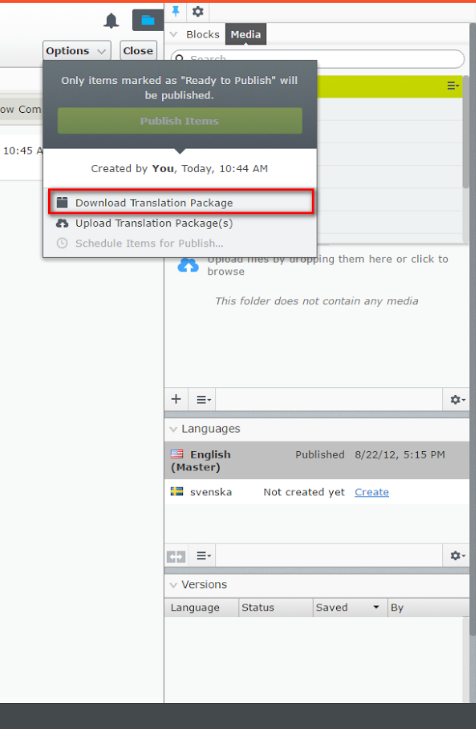
A zip file containing all XLIFF format contents is downloaded and you can send the package for translation.
Import translation package
When the translations for the project are done, you can upload the file (in zip format) to the server and import content back. The action is executed via the Publish menu in the project view.
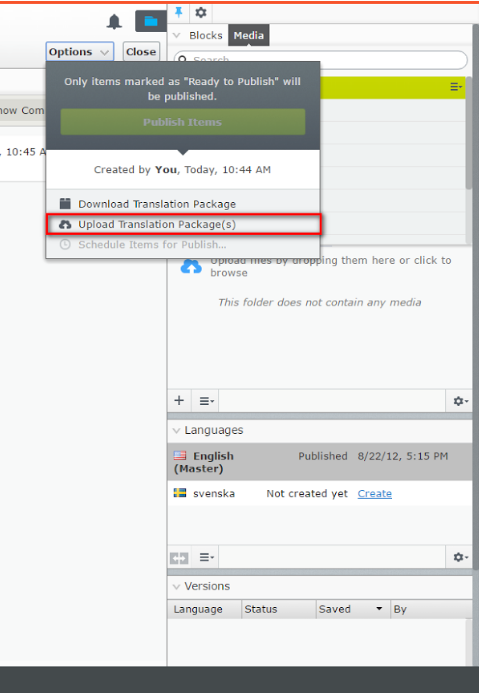
Select Upload Translation Package(s), and a dialog box appears to let you start uploading.
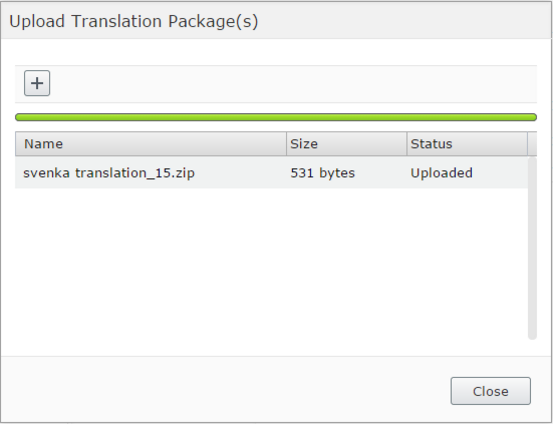
After you upload the packages to the server, they are automatically imported by a scheduled job. If you want to start that process manually , go to admin view > Import Translation Package > Start manually.
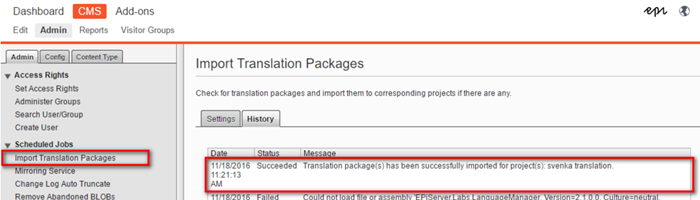
A notification also is sent to the project owner that the translation project was imported.

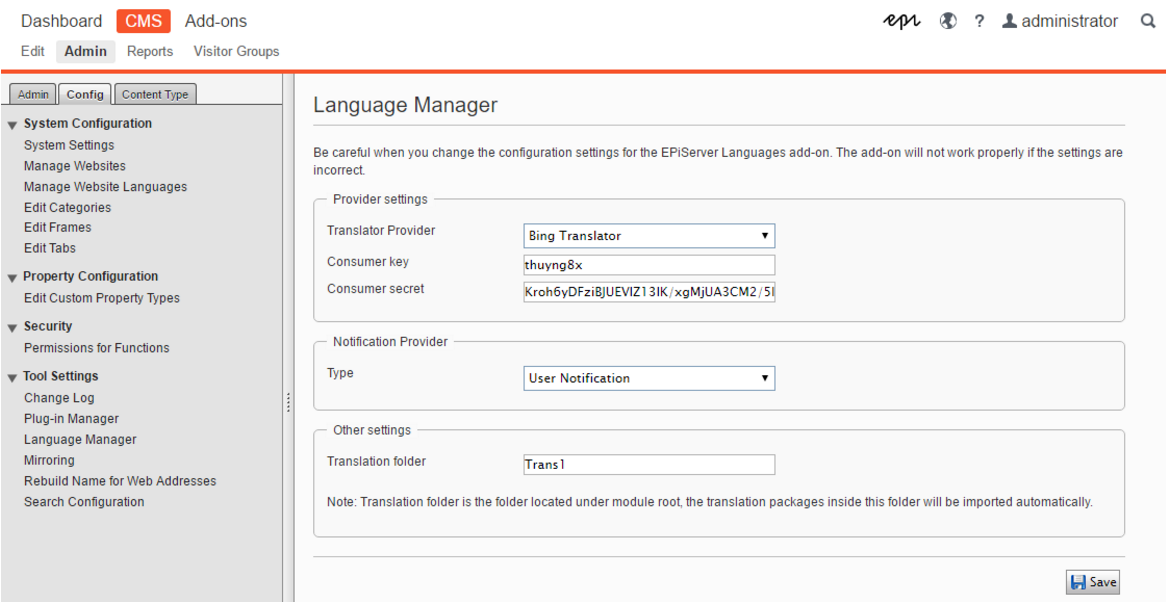
Manage Add-on Setting moved to admin view
The Manage Add-On Setting menu item has been removed from the gadget and is now found under Language Manager in admin view instead:
Last updated: Dec 13, 2016