EPiServer Community 3.2 Installation Instructions
|
Product version: |
EPiServer Community 3.2 |
|---|---|
|
Document last saved: |
Introduction
Installation of EPiServer Community 3.2 is carried out in two steps. First EPiServer Community 3.2 and EPiServer Deployment Center must be installed on the server using MSI-packages. Once the needed components have been installed on the server you can create new application instances of EPiServer Community 3.2 using EPiServer Deployment Center.
The required MSI-components for EPiServer Community 3.2 can be found both in the Relate+ and the EPiServer Community 3.2 standalone installation packages. This article describes how to install a EPiServer Community 3.2 site using the standalone package, for instructions on how to install EPiServer Community 3.2 via Relate+ please see the Relate+ installation instructions.
Overview
EPiServer Community 3.2 can be found in the download section here on EPiServer World. Included in the downloaded EPiServer Community 3.2 zip file are the Microsoft Installer files and the Setup.exe. Running the "Setup.exe" file will start the installation of the various components and, optionally, at the end of the installation start EPiServer Deployment Center.
Installation
Start the installation by running Setup.exe.
Download the EPiServer Community 3.2. release zip file and unzip the contents to your hard drive.
Run the "Setup.exe" executable to start the installation. If any of the software components or versions or incorrect then a dialog will appear informing you of the software that is required to be installed or updated. See the EPiServer Community 3.2 system requirements.
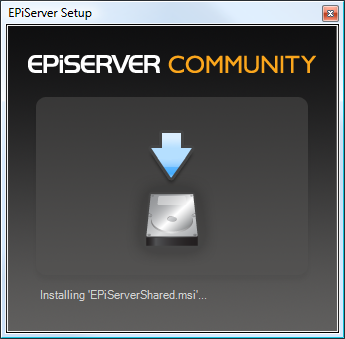
A requirement for EPiServer Deployment Center, which is contained within the EPiServerShared.msi package, is that Microsoft Windows Powershell is installed on the machine. If Microsoft Windows Powershell is not detected on the machine you will be prompted to allow it to be installed, the installation may take several minutes.
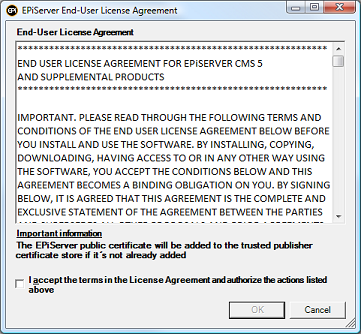
Next the EULA dialog will appear, you need to check the accept box and click OK to continue.
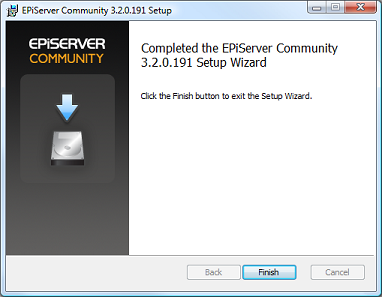
Once the EULA has been accepted the EPiServer Community installation wizard starts. This wizard has no options for you to select, you simply need to click next to start the installation.

Once the wizard har run simply click finish to close it.
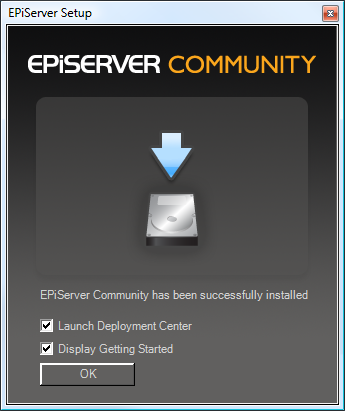
You now get the options to launch EPiServer Deployment Center and/or to display the Getting Started guide. You need to run EPiServer Deployment Center to create an EPiServer Community 3.2 site, so make sure that that box is checked before clicking OK.
Setting up an EPiServer Community 3.2 site
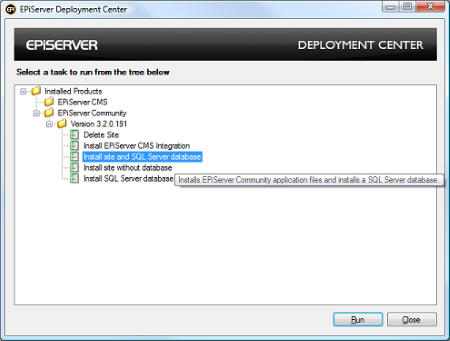
EPiServer Deployment Center is used to create and delete instance of different EPiServer applications. In this particular case we want to create an EPiServer Community 3.2 site coupled with a database as highlighted in the image below, select this option and click Run.
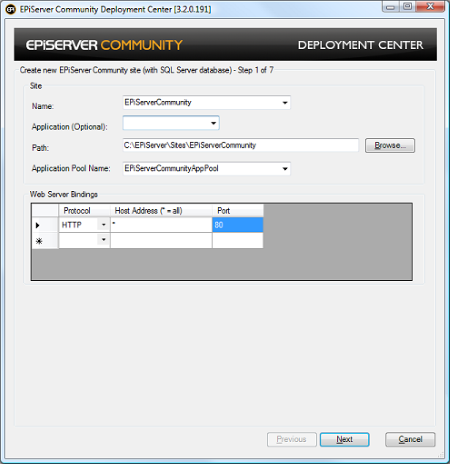
The first step of the wizard concerns the IIS settings that should be used for the EPiServer Community site instance. You will need to provide configuration for your web server:
- Enter a name for the site to be installed in the Site name box
- Enter Application (Optionally)
- Enter Path for the SIte
- Enter Application Pool Name
- Enter Web Server Bindings
- Enter EPiServer User interface information - Relative Path and Port
The next step of the wizard requires you to fill out information regarding the databdatabase instance that will be created
- Select or Enter the name of the Server instance to use and the Port number
(default) in the Port field defines the database server's default port. If you wish to install to another database server port, change the value to the desired port number.
- Select the authentication mechansim to use when accessing the server
- Select the name of the database you intend using from the Existing Database
list or enter the name of a new database
- Either create a new user and password or select an existing user that has
owner rights to the database (passwords must include lower and upper case,
a digit and a non-alphanumeric character). In the Password box,
type the password associated with the specified user.
Note that the user running EPiServer CMS Manager must have owner access rights to access the database. 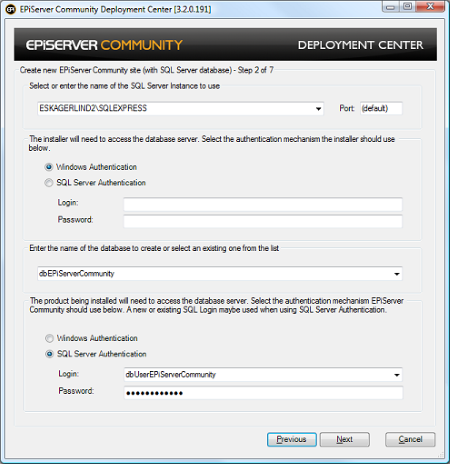
Click Next.
In the next step you need to provide a username and password for the administrator user that will be created.
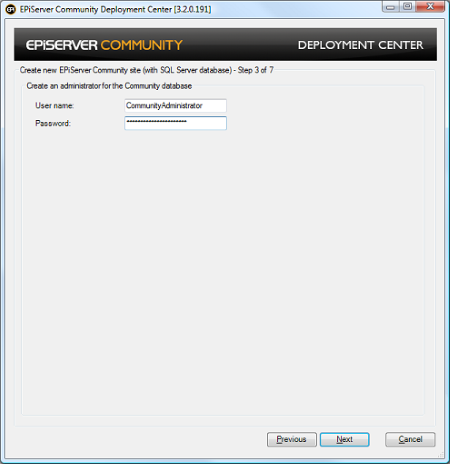
Click Next.
In the fouth step of the wizard you need to specify a local folder that will be used to store files and images uploaded by the community members.
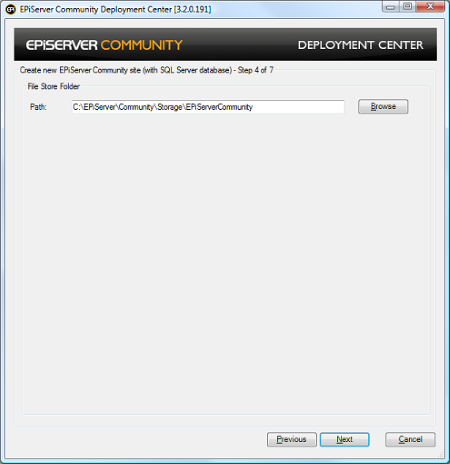
Click Next.
The next step give you the option to install the files needed to integrate EPIServer Community with EPiServer CMS. When you are installing a standalone EPiServer Community site this option should not be selected.
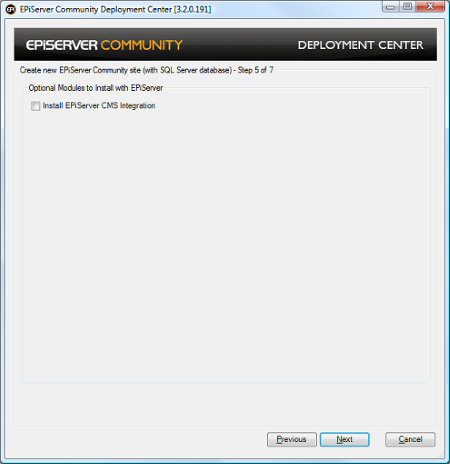
Click Next.
In the next step you can optionally provide a path for a license.config file that you want to use for the site. If omitted the site will be created but will report licensing errors: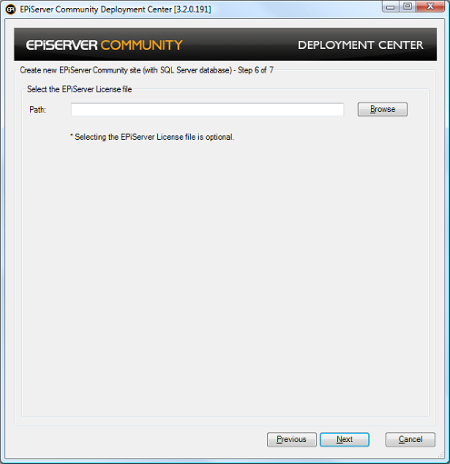
Click Next.
The last step is a summary of all the steps that will be taken by the wizard when it completes.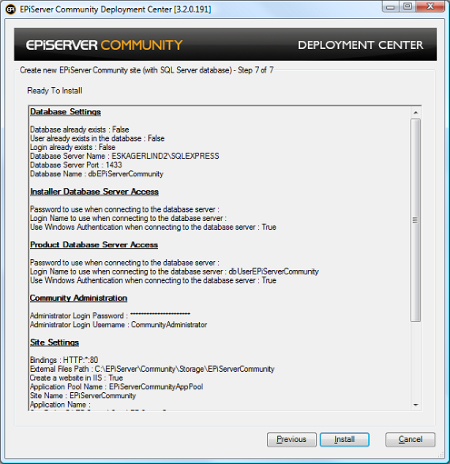
Click Install.
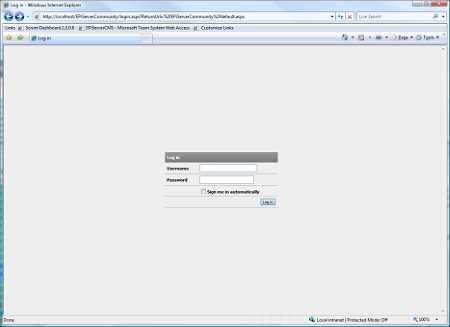
Once the installation has finished you should point your browser to the /EPiServerCommunity folder in of your new site. When prompted to log in you should provide the username and password for the Admin user that you created form the installation wizard.